Living Succulent Headband Tutorial

materials

- Brown kit box.
- Paper plate palette.
- Copper headband base.
- Pre-cut lace ribbon.
- Natural preserved reindeer moss.
- Small tube of craft glue* (glue guns do work best so if you have one use it!).
- Box of "living jewels" = 10 succulent clippings and 2 raw crystals (amethyst and citrine available).
step by step

Lay out Materials

Step 3: Glue one piece of lace to another

Step 5 + 6: Glue ribbon to headband

Step 7:Glue on moss

Step 8: Arrange your clippings and crystals
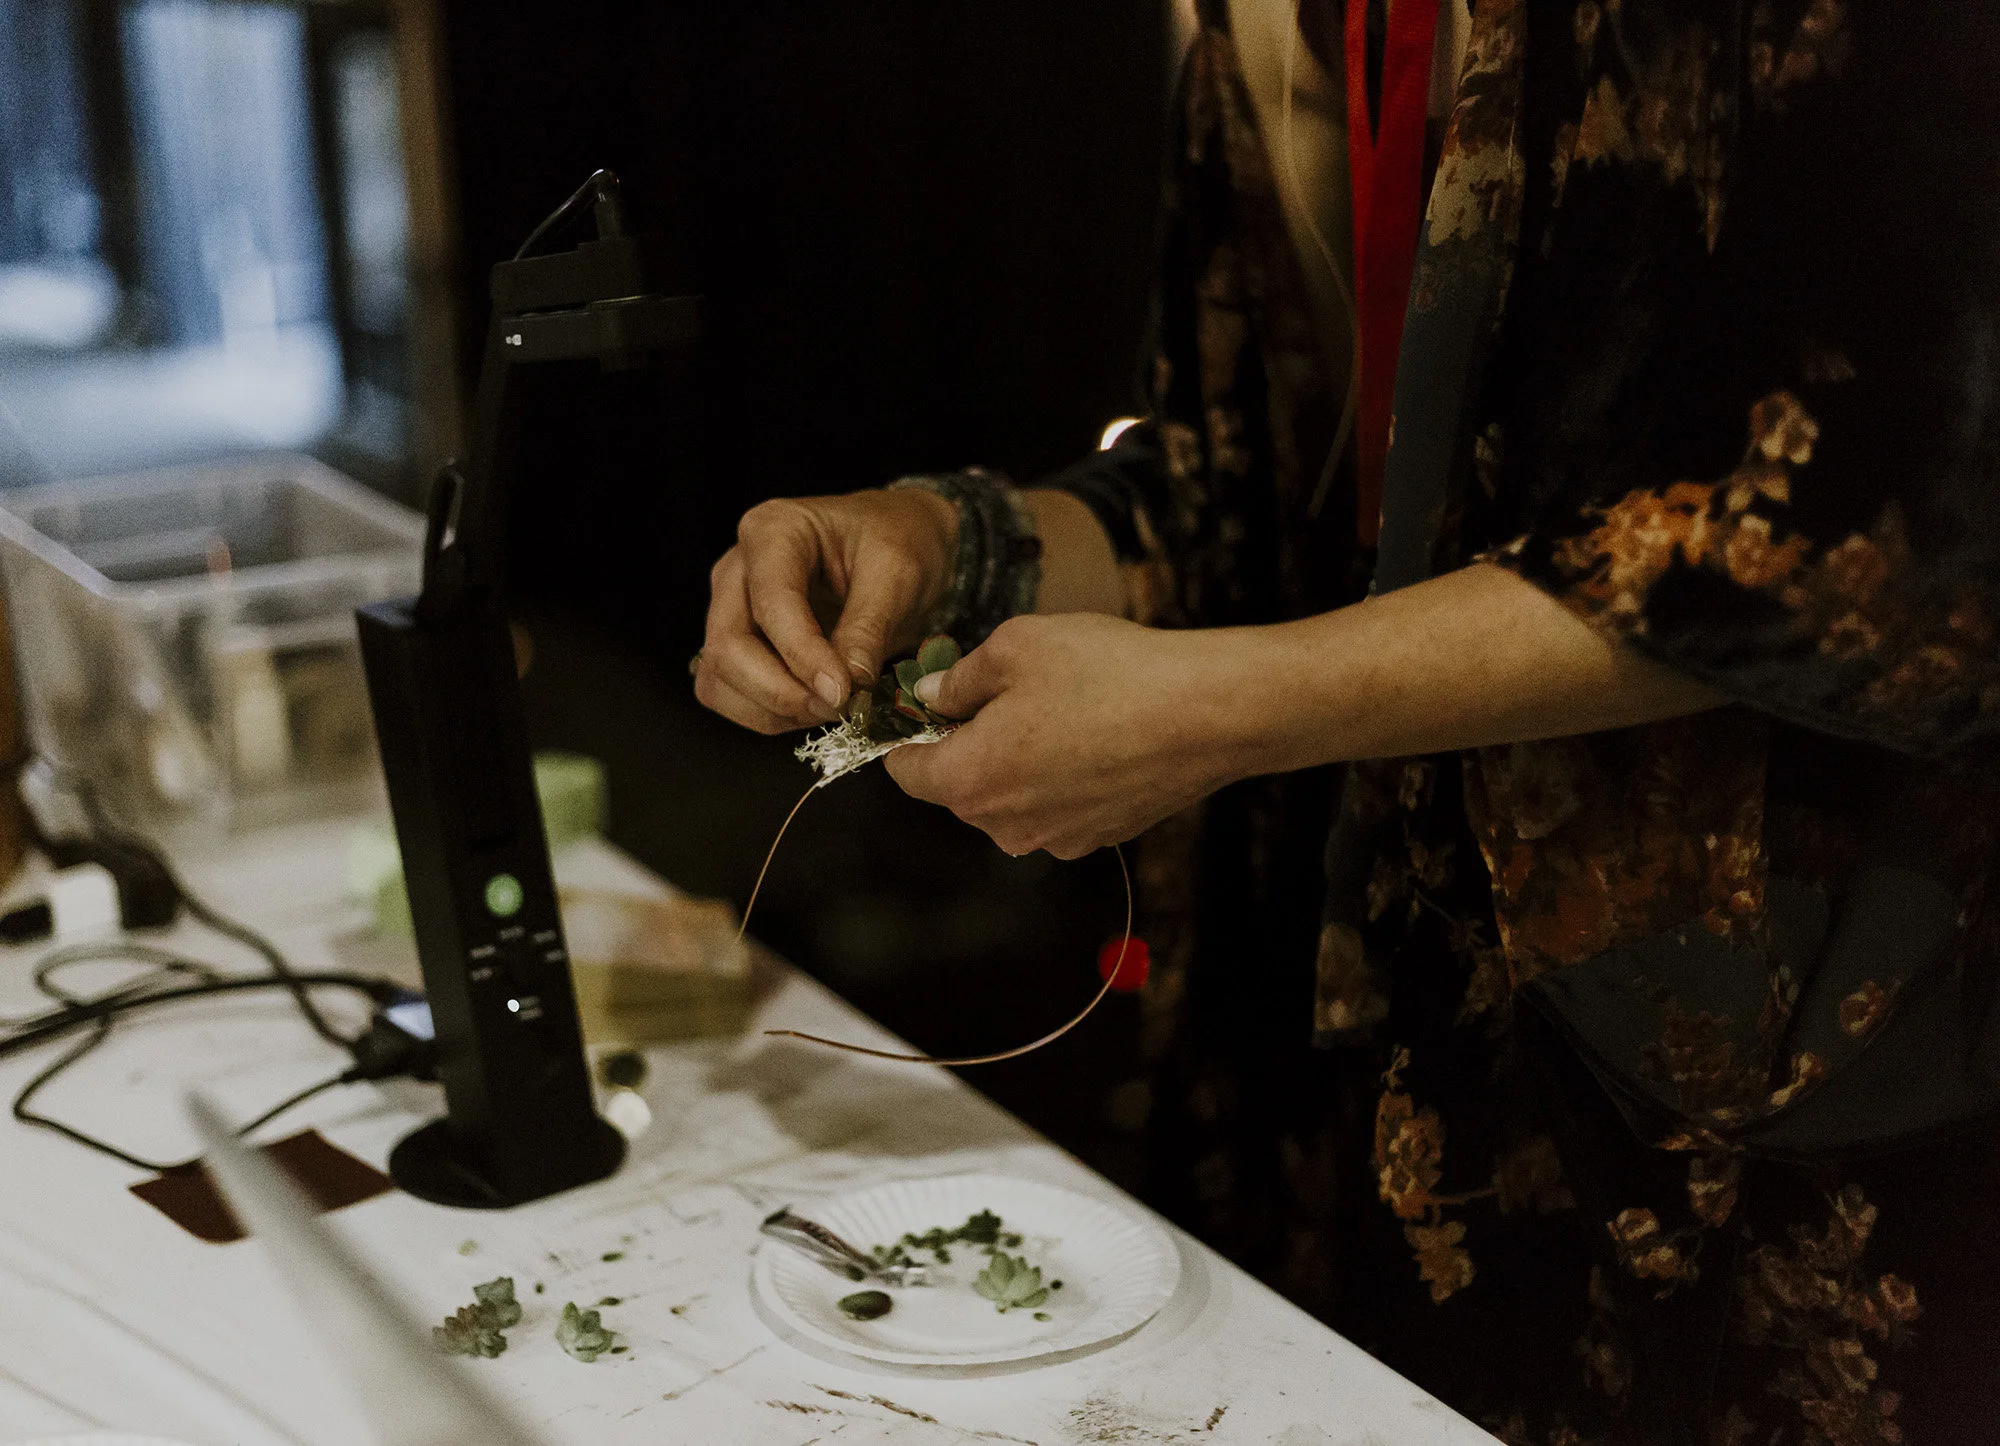
Step 9: Glue on your succulents + crystals
- Unpack all materials
- Prep succulent clippings by removing any, dried leaves and unwanted stems. TIP: You want your succulent clippings to be glued on tight, so remove any unneeded extra leaves and stems (which you can throw in your propagation tray if you have one).
- Glue one piece of lace ribbon to another, being sure to smooth out any bumps. This will become the base onto which you will glue your succulents.
Plan out where you want your succulents to lay on your head, by experimenting with where you want the lace to lay on the headband.
Once you feel confident about placement, glue the headband base to the glued-together double lace ribbon and then glue third piece to the back, so that the headband is sandwiched between the lace pieces.
Gently but firmly press the pieces together, smoothing out any glue bubbles.
Stretch your moss gently, so as to thin out any clumps. Glue moss to ribbon base.
Lay out your succulent clippings and crystals. Arrange your largest elements first and begin to glue on clippings and crystals however you desire.
GLUING ON SUCCULENTS TIP: using the small plate as your palette, squeeze glue onto plate and dip clipping into glue. Press clipping down firmly but gently into moss, using your thumb to press down on center of clipping, while using other hand to push up from below.(Note: if using the e6000 glue, you will need to press firmly, both from above and below, for about 20 – 30 seconds in order to ensure glue sets)
Wait for the glue to dry.
Ta Dah! Congrats on your living headband.

Ta dah! Your beautiful living headband is ready to wear!
Care
LIGHT: Provide bright and indirect light. I keep mine on a bright windowsill when not in use (avoid too much time in direct sun as it can interact with the glue).
WATER: Do not water at all for at least one and half weeks after creating (to give roots time to start growing into moss). After about two weeks, mist lightly once per week.
MAINTENANCE: With proper care your living headband should last ~4 months. You can always remove any clippings that are failing and simply replace with another succulent clipping. To disassemble, gently remove clippings from base (by pulling up firmly but gently). You can replant your clippings in a pot or in your garden, and can reuse the headband base for another living headband!

Photo Credits: Marie Monforte Photography and Shattered Frame Photography